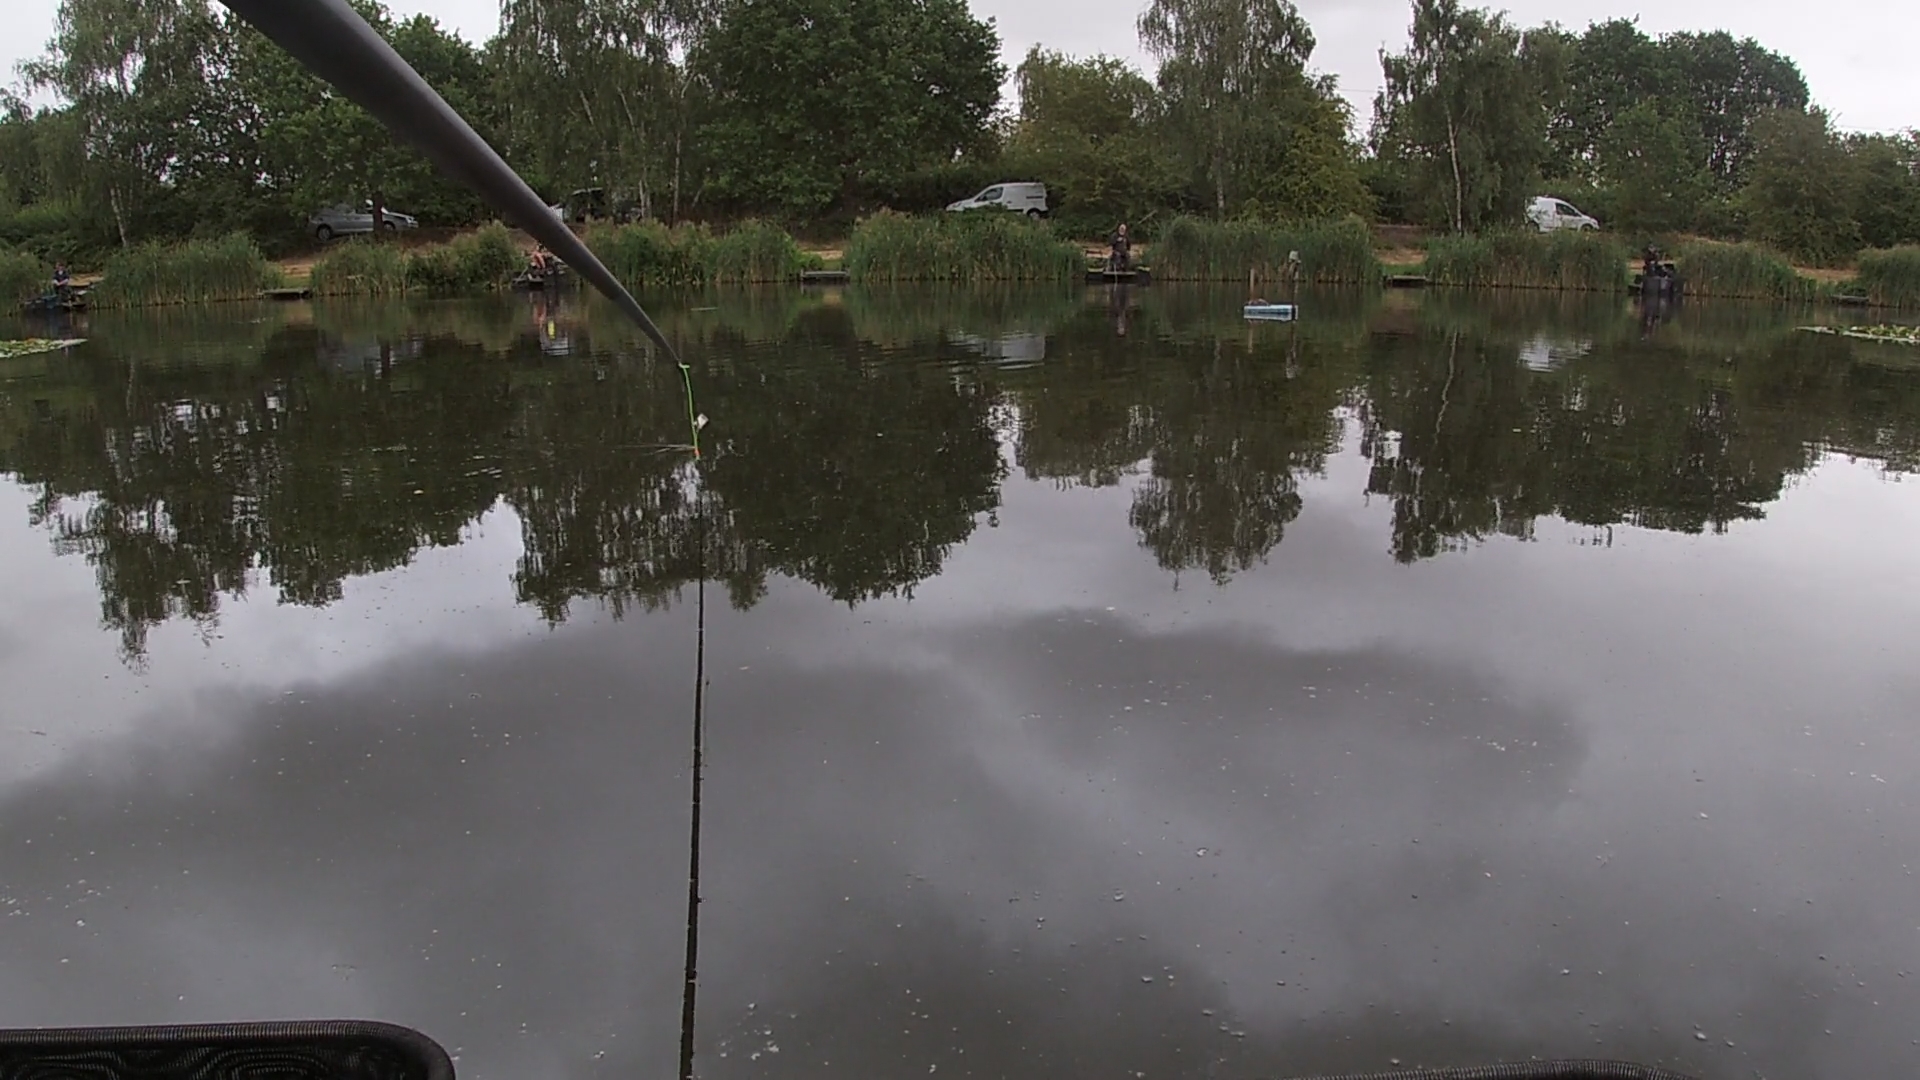

How to Read a Commercial Fishery Peg Before You Start Fishing
Most anglers know they should plumb up before they start fishing. We attach a plummet, find the bottom, and adjust the float until the bait is where we want it and we’re ready to go. But there is a problem with the way many of us approach plumbing up. Quite often, we’ve already made the first decision before the plummet ever enters the water. We’ve guessed how deep the peg is.
Stop Guessing the Depth
Anglers seem to develop a strange ability to look at a piece of water and decide how deep it is. We sit on the box, look across the peg and think: “That looks about six feet.” How exactly we’ve determined that when we can’t see the bottom is anyone’s guess, but we do it. So, expecting six feet of water, we choose a rig with a float we think will be suitable for that depth. Perhaps we put on a 4x16. Then we plumb up properly and discover it’s actually eight feet deep. What do we do?
Quite often, we simply adjust the depth and leave the 4x16 on. Or perhaps the opposite happens. Our supposedly six-foot peg turns out to be only four feet deep. Again, there’s a good chance we’ll leave the same rig on because it’s already attached to the pole. We’ve allowed our guess at the depth to determine the float, rather than allowing the actual depth to determine the float. There is a better way.
Survey the Peg Before Choosing the Fishing Rigs
Before selecting my fishing rigs, I now use a dedicated plumbing-up rig. It is important to understand what this rig is — and what it isn’t. It doesn’t replace properly plumbing up your fishing rigs. Its job comes before that. I use it to survey the peg and establish the approximate depths I’m likely to be fishing. Once I know those depths, I can select the appropriate floats and rigs. Then I plumb those fishing rigs up accurately in the normal way. It changes the order from:
- Guess the depth
- Choose a rig
- Plumb up
- Discover whether you guessed correctly
to:
- Survey the peg
- Establish the depths
- Choose the appropriate rigs
- Plumb them up accurately
That small change in sequence makes an enormous amount of sense.
My Dedicated Plumbing-Up Rig
The rig itself is approximately 2.5 metres long. There’s a practical reason for choosing 2.5 metres. If I’m approaching 2.5 metres of water, I’m getting beyond the sort of depth where I’m realistically going to be pole fishing. The rig uses a slim, fibreglass-stemmed 0.4g float, balanced with a 0.4g olivette. I want something positive enough to get the plummet down quickly and give me a clear indication of the depth. It isn’t a fishing rig, so I’m not concerned with creating a delicate shotting pattern or perfect bait presentation. It has one job: Tell me what’s underneath the water. There is one slightly unusual feature at each end of the rig that makes the whole thing particularly convenient to use.
The Quick-Release Loops
At the pole end of the three-metre rig I make a large loop approximately 75mm long. I then tie another loop into the end of that loop, approximately 10–15mm long. Tying that small loop into the end of the large one consumes some of the material, which is why the working loop ends up smaller than the original 75mm. This effectively leaves two loops: a small 10–15mm release loop at the end and a larger working loop of roughly 60mm. The large loop is used to attach the plumbing rig to the pole’s Dacron or connector. When I’ve finished plumbing up, I simply pull the small loop. The larger attachment loop releases and the rig comes away from the pole. No cutting. No picking at a tightened loop with cold fingers. The bottom of the plumbing rig is made in exactly the same way. Again, I create the larger loop and then tie the smaller release loop into it. To attach the plummet, I pass the end of the rig through the eye of the plummet, pass the plummet through the larger loop and tighten it. The plummet is now securely attached.
When I’ve finished surveying the peg, I pull the small release loop. The larger loop opens, the line pulls back through the eye, and the plummet can be removed. The same simple quick-release arrangement therefore works at both ends of the rig. The plumbing rig can be fitted to the pole, used to survey the peg, removed again and stored ready for next time.
Build a Map of the Peg
Now we can start finding out what we’ve actually got in front of us. I’ll check the likely long line and establish roughly how deep it is. Then I’ll work progressively back through the peg. I’ll check intermediate distances, the short line and both margins. If there’s an island, I’ll investigate what happens as the bottom comes away from it. If there’s an interesting-looking feature, I’ll investigate that too. I’m not trying to establish the final fishing depth to the millimetre at this stage. I’m surveying. Perhaps I discover that I’ve got around eight feet on the long line, six feet closer in, a four-foot shelf and a couple of feet of water down one margin. Perhaps the other margin is completely different?
Already I know considerably more about my peg than I did when I sat down. But we’re not only interested in depth. By moving the plummet progressively around the peg, we can begin to understand the shape of the bottom.
Learn What the Plummet Is Telling You
Suppose I establish the depth at my long line. I move the plummet a foot closer. Has the depth changed? I move it another foot. And another. If the depth remains reasonably constant, I’ve probably found a useful flat area. If the bottom gradually becomes shallower as I come towards myself, I’ve found a slope. If the depth changes quite suddenly, I’ve probably found a more pronounced shelf or change in the lake bed. I can investigate sideways too. Does that flat area continue? Is it only a tiny spot? Does the shelf run across the peg?
The same applies in the margins. Rather than simply assuming that somewhere next to a clump of reeds is going to be a wonderful margin swim, I can find out what the bottom actually does there. The aim isn’t to produce a detailed underwater contour map. It’s to understand enough about the peg to make sensible fishing decisions.
A Feature Isn’t Necessarily a Good Place to Fish
We naturally like features. Islands, reeds and margins look fishy. But something that looks attractive above the surface doesn’t automatically give us good presentation underneath it. Imagine plumbing up towards an island and discovering a steep slope. Fish may certainly visit it, but can I present a bait accurately on that slope? If the rig moves six inches, how much has the depth changed? Can I repeatedly feed the same spot? Compare that with a relatively boring flat area a little farther away. There may be nothing visually exciting about it, but I can lower the rig into exactly the same depth every time and feed accurately over it. That boring bit of lake bed may ultimately be the better place to fish. Good presentation is a feature in itself.
Now Choose the Correct Float
This is where the dedicated plumbing rig really earns its keep. I haven’t yet committed myself to a fishing rig. If my long line turns out to be six feet deep, I can select a float appropriate for fishing six feet of water. If another line is only four feet deep, I can select something appropriate for four feet. If I’ve found a shallow margin, I can choose the margin rig accordingly. I’m choosing tackle based on information rather than assumption.
And now, with the appropriate fishing rig attached, I plumb that particular line properly. The surveying rig has told me approximately what I’ve got. The fishing rig now establishes the precise depth and presentation I want. The dedicated plumbing-up rig doesn’t remove the need to plumb up properly. It makes sure you’re plumbing up properly with the right rig in the first place.
Give Yourself Options, Not Obligations
Once I’ve surveyed the whole peg, I may have identified several potentially useful areas. Perhaps I’ve found a good long line. There’s another nice flat area closer in. One margin looks excellent while the other is less attractive. That doesn’t mean I have to fish all of them. This is another trap we can fall into. Listen to anglers talking in the clubhouse after a match and you’ll regularly hear: “I started long, then came short, tried shallow, went down the left edge, then had a look down the right…” Sometimes that’s exactly what the match required. But sometimes the angler who caught steadily long and then caught down the edge simply didn’t need all those other lines. Finding a potential line during plumbing up doesn’t create an obligation to fish it.
If I’m catching consistently, long, why leave feeding fish simply because I plumbed up a short line? Likewise, I may identify a perfectly good short line and never put a fishing rig over it all day. That doesn’t mean finding it was wasted effort. It was an option. I simply never needed it.
You don’t need to fish every part of the peg you’ve plumbed. You need to know it’s there if you need it.
Don’t Fish a Distance Just Because Everybody Else Does
Commercial fishing inevitably develops conventions. Thirteen metres is a line. Top-kit-plus-two is a line. The margins are lines. There are perfectly good reasons why those distances are commonly used, but that doesn’t mean every peg has to be approached identically. If my plumbing tells me there’s an excellent flat area at 11 metres but an awkward slope at 13, why automatically fish 13 metres?
If the conventional short line happens to fall on a change in depth but there’s a lovely flat area slightly farther away, why insist on fishing the conventional distance? A line should have a reason for existing. “Because that’s where everybody fishes” isn’t much of a reason.
Reading the Peg Doesn’t Stop at the All-In
The plumbing-up rig tells me about the physical peg. It cannot tell me how the fish are going to behave during the next five hours. That information starts arriving once I’m fishing. Maybe I’m getting liners. Perhaps I’m foul-hooking fish. Maybe proper bites are becoming less frequent while indications increase. Fish might start showing farther out. The margins may suddenly come alive.
All of these things are information. The shape of the peg hasn’t changed, but the way the fish are using it may have changed completely. That’s why the areas I found while plumbing up are options rather than a timetable. I don’t have to fish, out long for an hour, short for an hour and then go down the margins because that’s what I planned before the start.
If the fish give me a reason to change, I can change. If they’re giving me every reason to stay where I am, perhaps the best decision is to do precisely that.
Read the Peg First
Proper plumbing up has always been an essential part of pole fishing. I’m not suggesting otherwise. What I’m suggesting is adding one simple stage before it. Find out what you’ve actually got before choosing the tackle you’re going to fish with.
A dedicated plumbing-up rig lets me quickly survey the whole peg, establish its approximate depths, find slopes, shelves and flat areas, and identify the places that might be worth fishing. Then I can choose the appropriate fishing rigs and plumb those lines accurately. It removes some guesswork. It prevents me selecting floats based on a depth I’ve imagined rather than measured. It saves a little wasted line.
And it gives me a mental map of the entire peg before the session begins. Most importantly, it changes the question I’m asking. I’m no longer asking: “Where am I supposed to fish?”, I’m asking: “What has this peg actually given me to work with?”. And that’s a much better place to start.
Search First, Then Fish
Reading the peg before choosing your fishing rigs is a practical example of the thinking behind Search First Fishing. Rather than starting with assumptions about where the fish ought to be, how deep the peg ought to be or which method ought to work, gather the information first. Search. Observe. Understand what you’ve actually got in front of you. Then make the fishing decision.
If this approach to fishing makes sense to you, Search First Fishing takes the idea much further — looking at how searching first can help you make better decisions and spend more of your time fishing where the fish actually are.